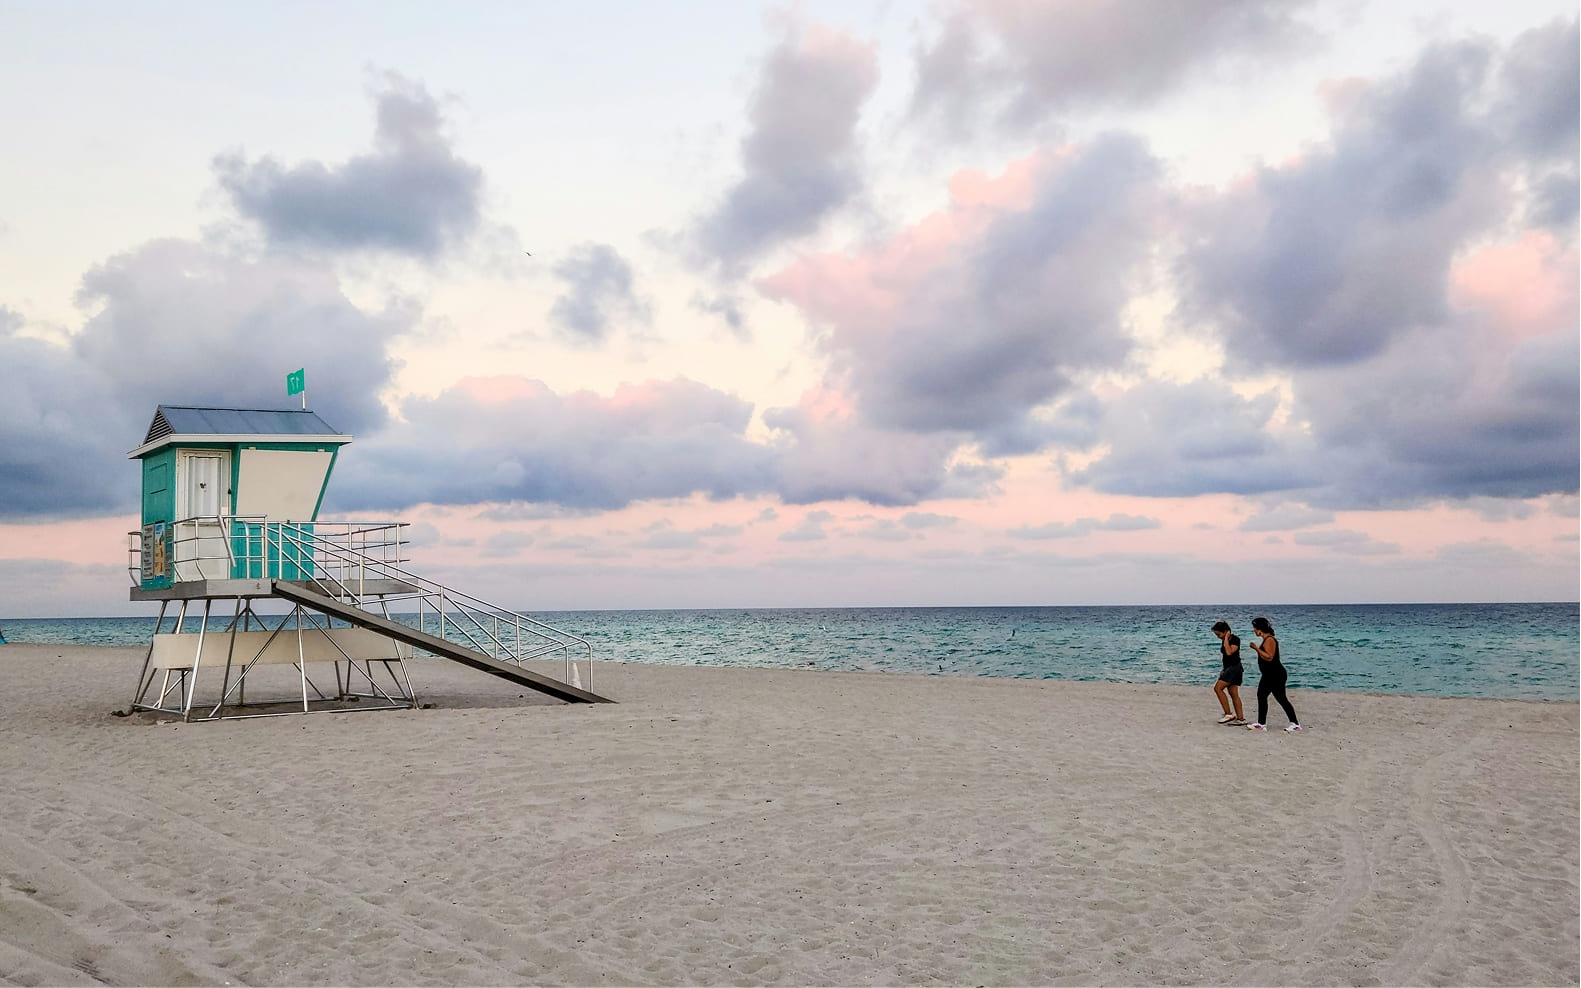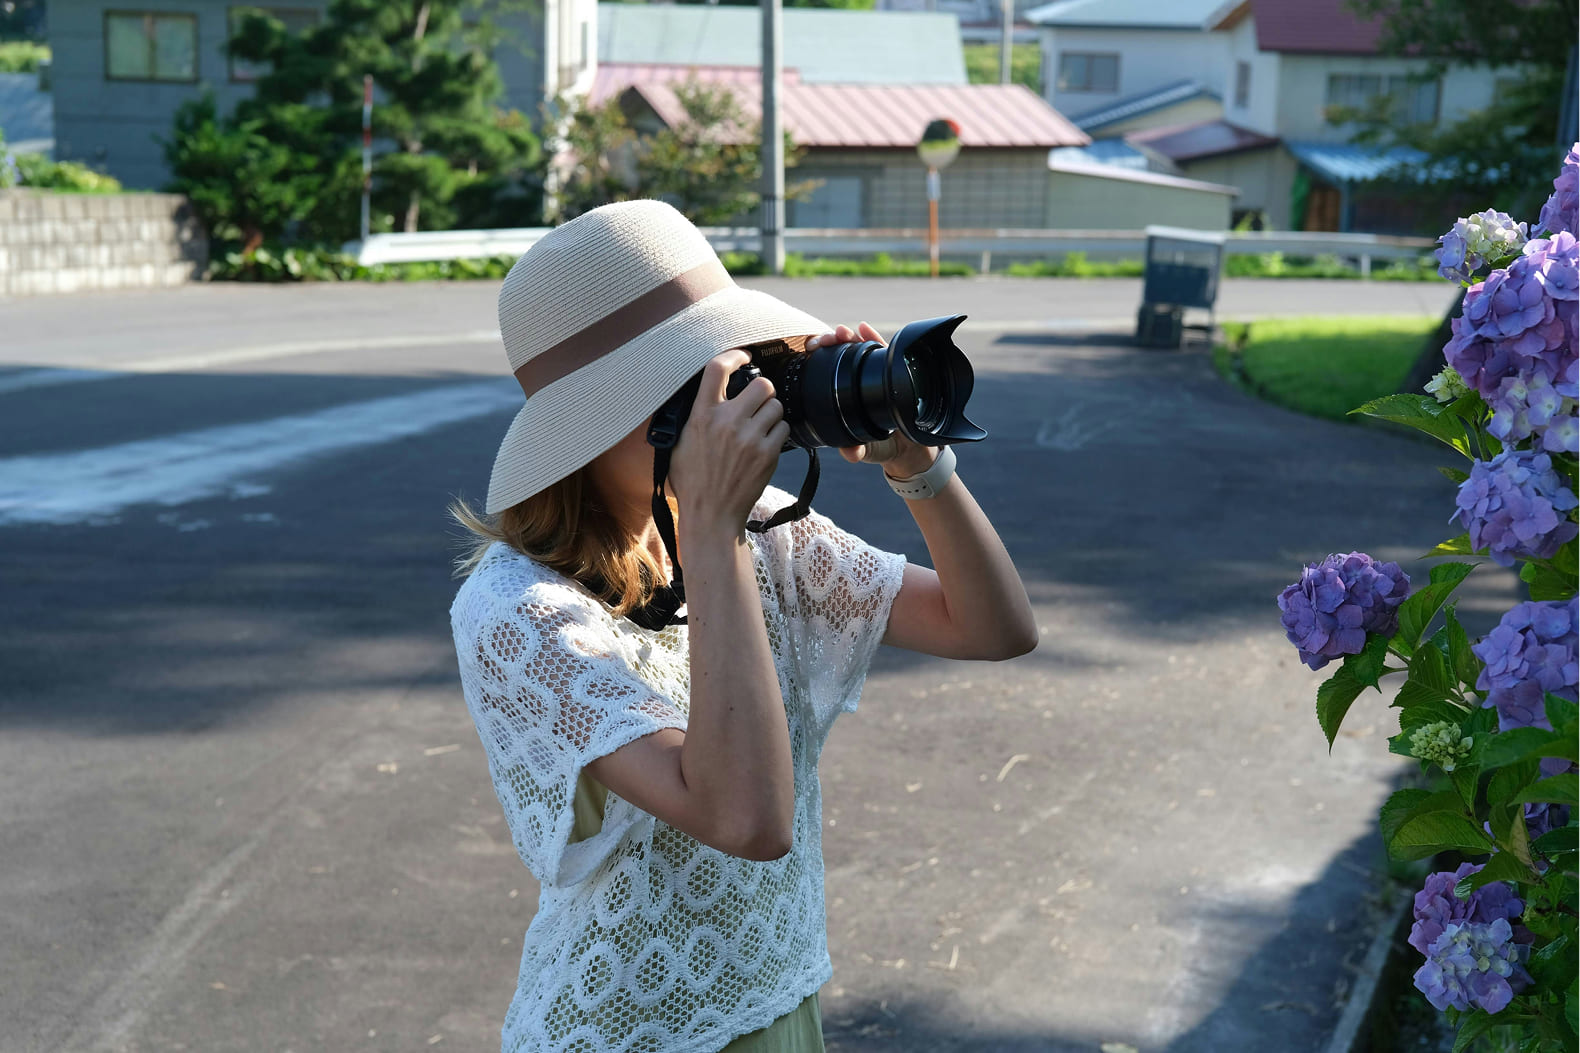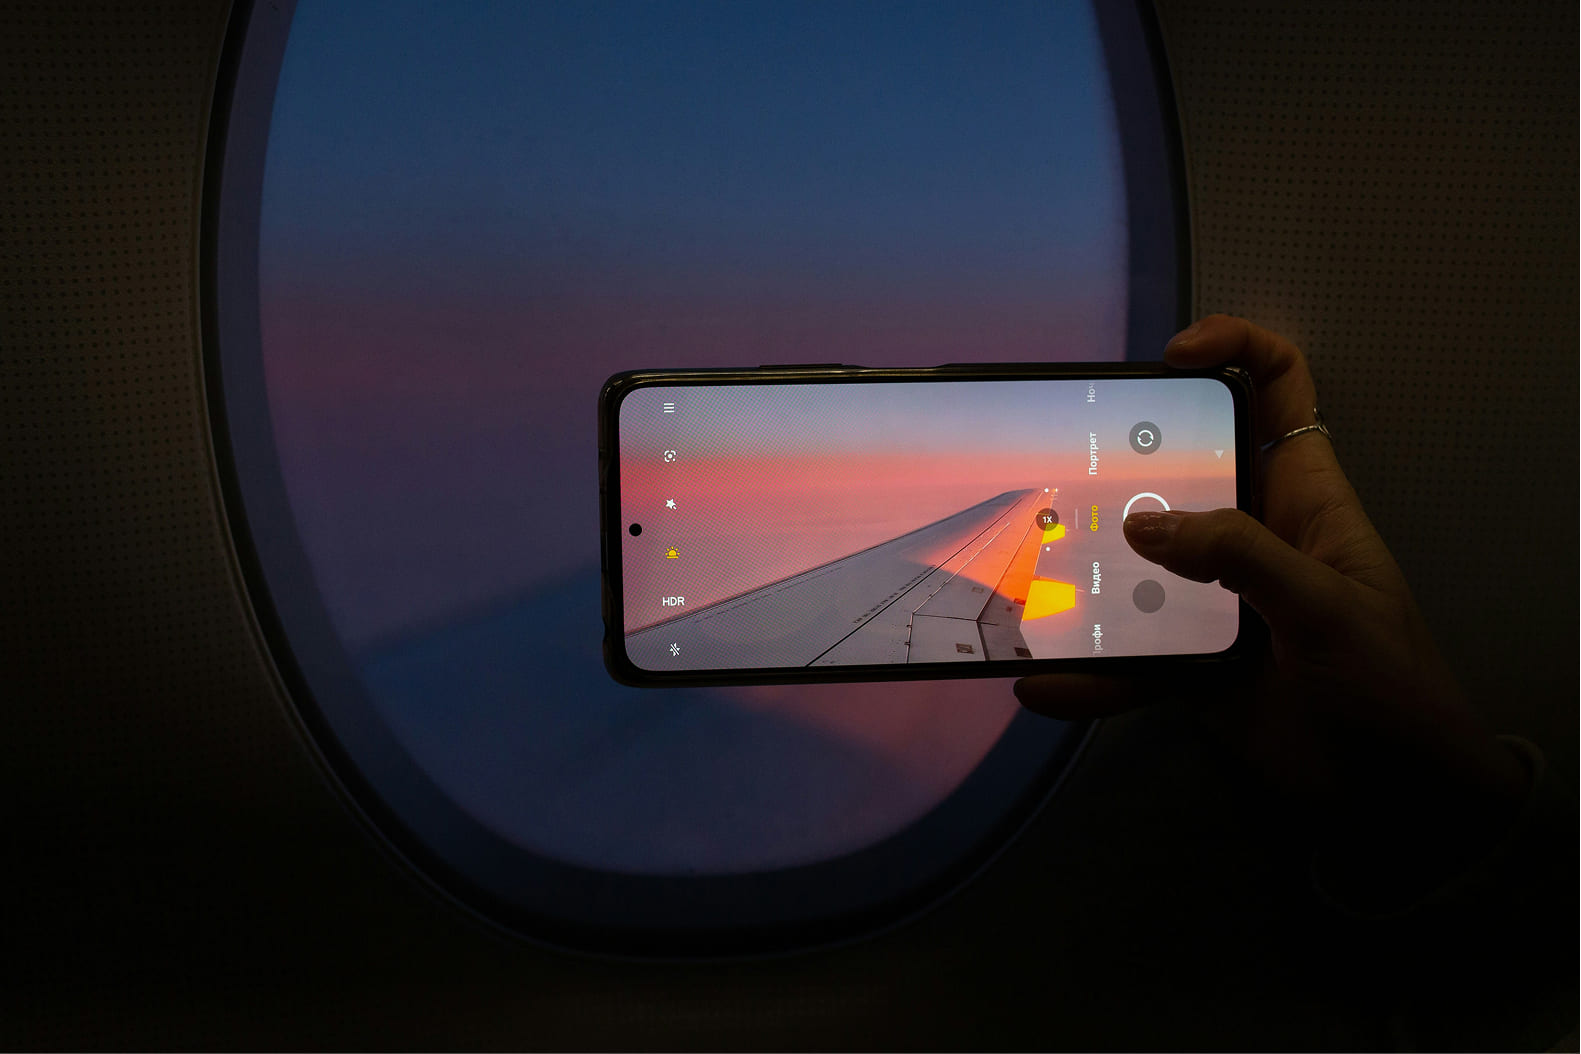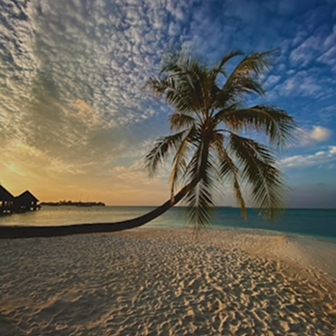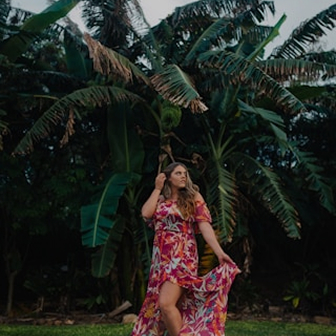
Great travel photos start with understanding your camera, whether it’s a smartphone or a DSLR. Before your trip, explore settings like aperture, shutter speed, and ISO so you can quickly adjust for different lighting. Use the rule of thirds—imagining your frame divided into nine equal squares—to place key subjects off-center and create balanced, eye-catching compositions. Early mornings and late afternoons offer soft, golden light that flatters landscapes and portraits alike.
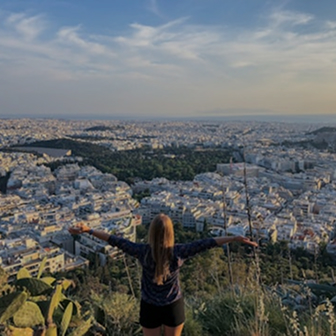
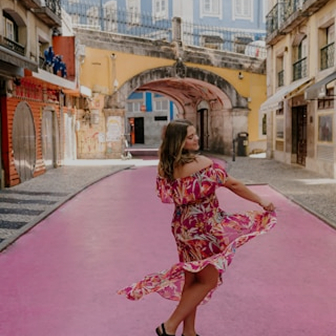
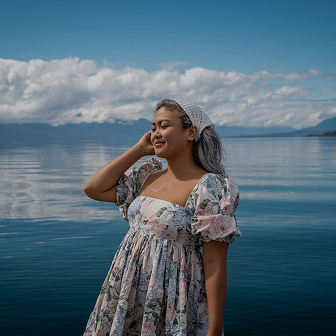
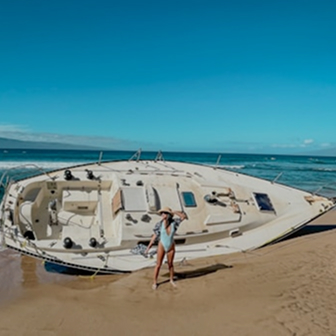
Think about storytelling as much as scenery. Capture candid moments of local life, detailed shots of food or architecture, and wide frames that show the context of a location. Varying perspectives—such as shooting from low angles or finding a high viewpoint—adds depth and keeps your travel album dynamic. Don’t hesitate to take multiple shots of the same scene with slight adjustments; small changes in focus or exposure can make a big difference.
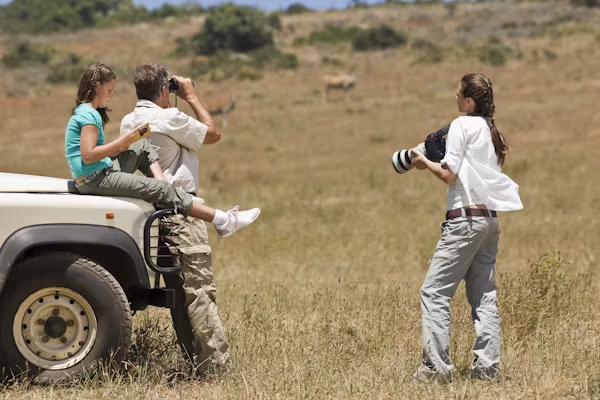
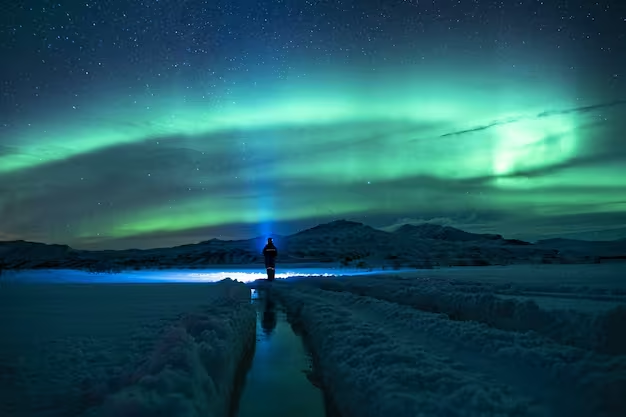
Steady shots are essential. If you don’t have a tripod, brace your camera against a wall or use your body for stability. For moving subjects, use a faster shutter speed to freeze action, or slow it down intentionally for creative motion blur, like flowing waterfalls or bustling streets. Learning these techniques helps you adapt to different environments, from dim temples to bright beaches.
Editing is the final step to professional-looking images. Apps like Lightroom or Snapseed allow you to tweak brightness, contrast, and color balance without overdoing it. Consistent edits across a series of photos create a cohesive visual style that enhances storytelling. Above all, practice and patience are key—each trip is a chance to refine your skills, so you return home with photos that truly capture the spirit and memories of your journey.